
1pc W3230 12V/24V/AC100-220V Digital Temperature Controller LED Display Thermostat with Heating Cooling Switch NTC Sensor(1m Probe line)
Product details
| Management number | 211144303 | Release Date | 2026/04/04 | List Price | $16.50 | Model Number | 211144303 | ||
|---|---|---|---|---|---|---|---|---|---|
| Category | |||||||||
Temperature ControllersProduct Parameters:Temperature control range:-50~120°CResolution:0.1 at -9.9~99.9, 1 at other temperature rangeTemperature measurement accuracy:0.1CControl precision:0.1C precision:0.1Refresh frequency: 0.5SInput power supply: DC12V/24V/AC100-220VMeasurement input: NTC (10K0.5%) waterproof sensorOutput:1 relay output, capacity=20AEnvironmental Requirements:-10~60 Humidity 20%-85Size:79mm*43mm*26mmSetup Instructions: :Press the up button briefly to display the start temperature. Press and hold the up button again to make the start temperature blink, entering the setup state. Adjust to the desired temperature using the up and down buttons. :Press the up button briefly to display the stop temperature. Press and hold the up button again to make the stop temperature blink, entering the setup state. Adjust to the desired temperature using the up and down buttons.:In the absence of any operation, press and hold the up button to initiate start temperature calibration. :When the thermostat is not powered, press and hold both the up and down buttons, then power on to reset to settings.Common Faults: LLL: Displaying three Ls indicates a sensor fault. First, check if the sensor port has become detached, or replace the sensor to confirm if it is faulty.No Output: In the case of no output, first follow the setup method mentioned above to check if the start temperature and stop temperature are set inversely.Instructions for use:Connect the power supply and equipment, you can supply power to the controller, this time the display for the measurement of temperature, press the SET key once, the display temperature flashes, press eleven to set the desired temperature (hold down eleven can be quickly raised and lowered) set the completion of the SET to confirm the , this time, the controller according to the setting of the automatic implementation of the relay on and off! The thermostat output for the 20A relay, to meet a variety of high-power loads, connected to the control circuit, you can supply power to the thermostat, this time the display shows the ambient temperature indicators, digital tubes and buzzer status instructionsIndicator: blinking that the cooling or heating start-up delay, light indicates that the relay has been closed digital tube: display LL for the sensor open circuit, please connect the sensor according to the instructions; display HH for the measurement range beyond the thermostat will be forced to disconnect the relay; display --- for the high temperature alarm!Parameter function description:Long press SET 5 seconds to enter the main menu settings, press eleven to switch P0...P6, long press SET 5 seconds to enter the main menu settings, press eleven to switch P0.... P6, long press SET or 10 seconds without key action controller automatically confirms the .P0 Cooling and heating mode:Long press SET 5 seconds to display P0, press SET once to set the working mode, press ten - switch [H for heating mode] [C for cooling mode] press SET once to , long press SET or 10 seconds without key action controller automatically confirms the completion. Refrigeration mode: when the temperature measurement value > temperature set point, the refrigeration relay is absorbed, the chiller starts; when the temperature measurement value temperature set point - back to the difference, the refrigeration relay is disconnected, the chiller is closed. In heating mode: when the temperature measurement valuetemperature set point, the heating relay is activated and the heater starts; when the temperature measurement value>temperature set point+temperature difference, the heating relay is disconnected and the heater switches off.P1 difference setting:Long press SET for 5 seconds to display P0, press eleven to switch to P1, press SET once to set the difference value, press ten - to set the difference as 0.1-15, press SET once to after completion, long press SET or 10 seconds without key action controller automatically confirms the completion. Refrigeration mode: when the temperature measurement value township set value, the relay is absorbed, the chiller starts; when the temperature measurement value set value - difference value, the relay is disconnected, the chiller is closed. For example, the environment for the 30 set value of 25 , the difference is set to 2 , power on the relay closure chiller start, when the cooling to 23 , the relay disconnect chiller closed, at this time due to the chiller has been disconnected the temperature began to rise, when the rise to the set value of 25 , the relay closure chiller start again, and so on repeated cycles to control the temperature is not higher than 25 . Heating mode: when the temperature measurement value set value, the relay is closed, the heater starts; when the temperature measurement value > set value + back to the difference value, the relay is disconnected, the heater is closed. For example, the environment is 10 set value for 25 , the difference is set to 2 , after power on the relay closure heater start, when heated to 27 , the relay disconnect heater off, at this time due to the heater has been disconnected the temperature began to fall, when down to the set value of 25 , the relay closure heater start again, and so on repeated cycles to control the temperature is not lower than 25 .P2 Maximum temperature setting upper limit:In order to avoid danger caused by others' misoperation leading to too high setting temperature, this thermostat has the function of maximum setting upper limit, which limits the setting range of the maximum temperature set point controlled by the thermostat. Long press SET for 5 seconds to display P0, press eleven to switch to P2, press SET once to set the maximum upper limit, press ten to set the maximum settable temperature, the maximum value of 110, press SET once to to the completion of the long press SET or 10 seconds without key action controller automatically confirms the completion of the. For example: set to 60 Temperature set point can only be set to a maximum of 60 If you want the temperature set point higher temperature range to expand, you need to adjust the upper limit of the set value.P3 Set the lower limit for the lowest temperature:In order to avoid ice blockage caused by others' misoperation resulting in too low temperature, this thermostat has the function of minimum setting upper and lower limit, which limits the setting range of the lowest temperature set point controlled by the thermostat. Long press SET for 5 seconds to display P0, press eleven to switch to P3, press SET once to set the lowest lower limit, press eleven to set the lowest settable temperature, the lowest value is -50, after completion, press SET once to , long press SET or 10 seconds without key action controller automatically confirms completion. For example: set to 2 temperature set point minimum can only be set to 2 If you want the temperature set point lower temperature range to expand, you need to first adjust the lower limit of the set value.P4 Temperature correction:When the measured temperature and the standard temperature deviation or due to the user hardware have special needs, you can use this function to correct the temperature after correction = the temperature before correction + correction value The effective range is -7.0~7.0. Long press SET for 5 seconds to display the P0, press eleven to switch to the P4, press SET once for correction, press eleven to set the correction value, press SET once to to the completion of the process, press SET once for 10 seconds without key action controller, press SET once for 10 seconds without key action controller, press SET once for 10 seconds without key action controller. Long press SET or 10 seconds without key action controller automatically confirms the completion. For example, the normal display is 25 degrees; the temperature correction is 0 when the display is 25 degrees; the temperature correction is 1.5 when the display is 26.5 degrees; the temperature correction is -1.5 when the display is 23.5.P5 Delayed start time (unit: minutes)When there is a need for delay time for chiller or heater work, the delay time function can be turned on to protect the life of the equipment. Long press SET for 5 seconds to display P0, press eleven to switch to P5, press SET once to set the delay start time unit is minutes, press eleven toSet 0-10 minutes, after completion, press SET once to , long press SET or 10 seconds without key action controller automatically confirms the completion of theRefrigeration mode: the first time the power is turned on, if the current temperature > set value, the chiller will not start cooling immediately, you need to run the set delay time to start.Heating mode: the first time the power is turned on, if the current temperature set value, the heater will not immediately start the heating, you need to run a set delay time after the start.If the downtime between two adjacent starts of the chiller or heater is greater than the set value of delayed start time, the chiller will start immediately.When the downtime between two adjacent starts of the chiller or heater is less than the set value of the delayed start time, the unit will start again only after running the set delayed start time of the chiller. Delay time is calculated from the moment of shutdown, such as refrigeration state delay is set for 5 minutes, after power on the chiller start delay, 5 minutes after the chiller is turned on when the desired temperature when the chiller stops, this time to start , when the next chiller start is completed immediately when the work is completed, not completed to wait for the end of the to work, the LED indicator flashes in the delay time. Delay start set to 0 is equal to close the delay function.P8 restores the settings:Due to some man-made reasons, the internal settings of the thermostat are confusing, and it is time-consuming to set them one by one. At this time, this function can be used to restore the settings, the specific method is as follows.In the off state, press and hold the + and - buttons at the same time, and then turn on the power, all the above parameters will be restored to the settings.==========Hign-concerned Chemical : NoneModel Number : W3230Type : Module
- Temperature Controllers
- 1pc W3230 12V/24V/AC100-220V Digital Temperature Controller LED Display Thermostat With Heating Cooling Switch NTC Sensor
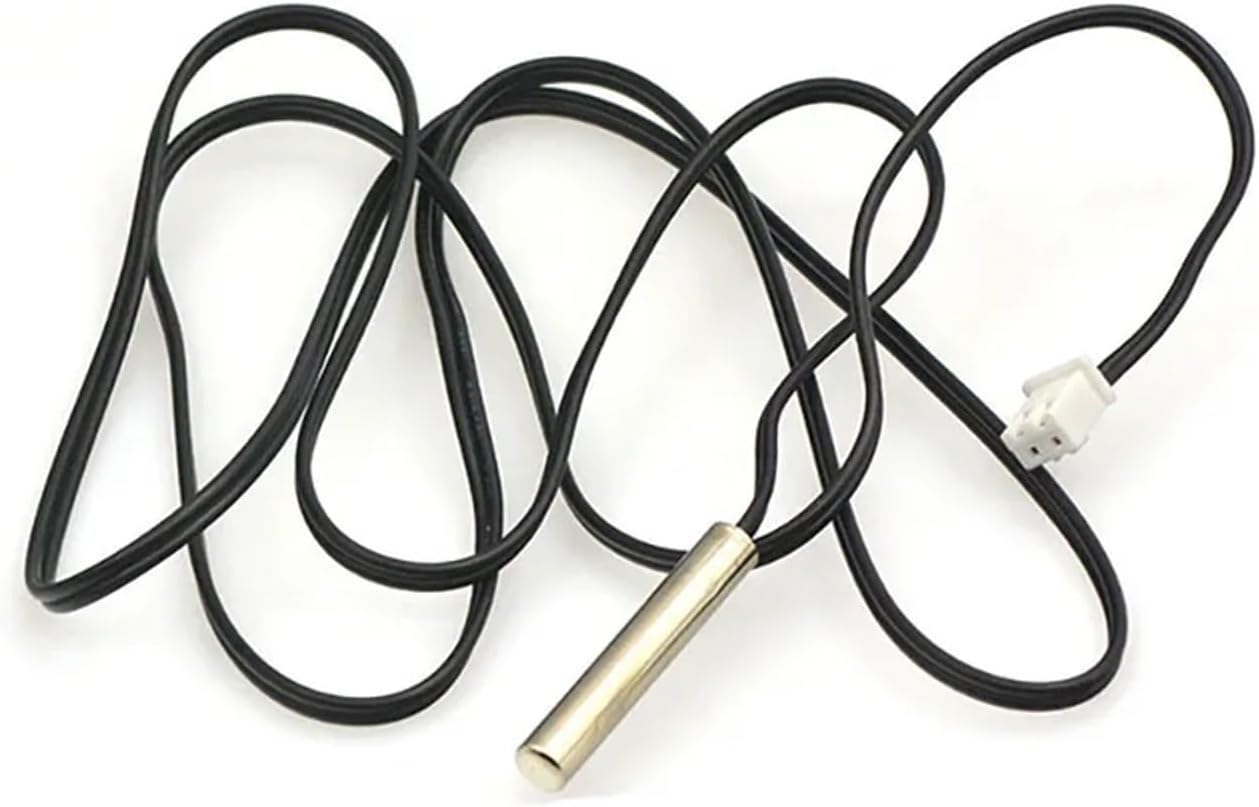
| Color | 1m Probe line |
|---|---|
| Brand Name | ZMDRXQOJ |
| Manufacturer | ZMDRXQOJ |


Correction of product information
If you notice any omissions or errors in the product information on this page, please use the correction request form below.
Correction Request Form